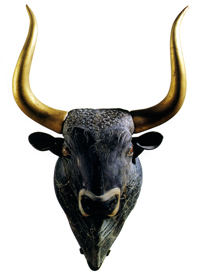
1. Draw the outline of the bull face on coloured paper (or white card if you want to colour with pens). Cut it out and stick on the white card.

2. Cut out the face.
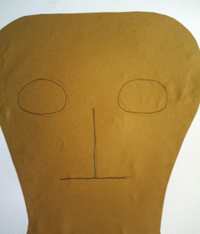
Measure the distance between the pupils on the actor’s face. Put dots on the card to show where the pupils are. Draw eye shapes around the dots.
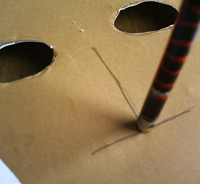
3. Put the card on plasticine and poke holes through with a sharp pencil.
Cut out the eye shapes.
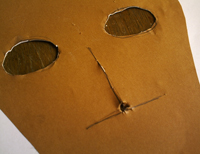
4. Draw lines to show where the nose is, as shown in the picture. The tip of the nose is where the two lines meet.
5. Poke a hole through for the nose and cut along the lines.
Fold back the two flaps.
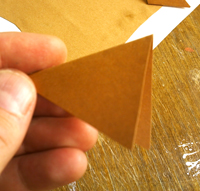
6. Cut out a square of paper for the nose piece. Fold in half diagonally.
7. Cut off a part to make the nose the right shape.
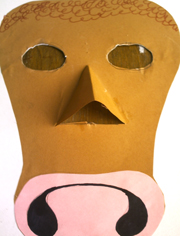
8. Glue on the nose piece.
9. Cut out a pink nose shape and glue on. Colour in the nostrils.
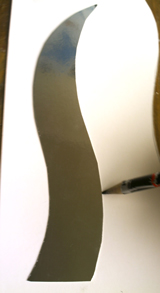
10. Draw a horn shape on a piece of card (you can use silver card or glue on paper or gold foil or whatever you like).
11. Cut out the horn, turn it over and draw round it on the same card. This was the two horns will be symmetrical. Glue the horns on the back.
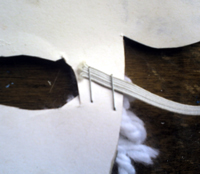
12. Measure a piece of elastic by holding it round the back of the head up to the outer corners of the eyes (without stretching the elastic).
13. Cut the elastic.
Staple it to the back of the mask with two staples.