The Three Pyramid Building Activities
1. Surveying
The tools used to build the pyramids were very basic by modern standards. Copper chisels were used to carve the stone, and because copper is quite soft the width of the cutting edge was only 8mm. Also the chisels wore out very quickly and had to be resharpened by a separate team of workers. To move the blocks the Egyptians used sledges and men pulling on ropes - they didn't have wheels at this time.
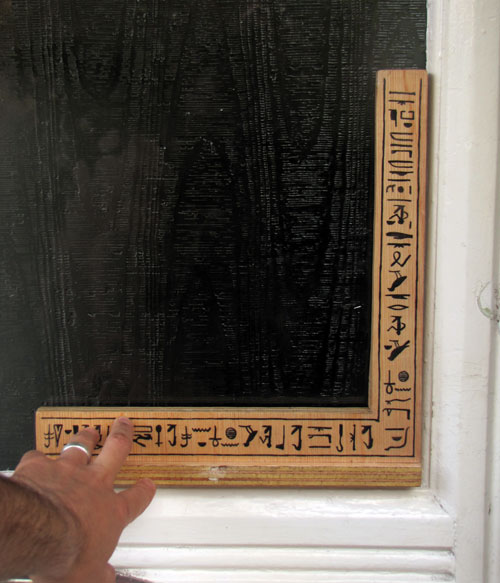
However, some of the tools are quite similar to modern versions. To check surfaces were vertical or horizontal, and to check right angles, they used the sorts of tools you see on the right (although these are not the 'real' thing - they are versions made to put into tombs for the afterlife). The set square is very similar to the modern type, and although we use spirit levels nowadays, plumb lines are still used by builders and decorators to check vertical edges.

From this activity children will learn both about the ancient Egyptian way of thinking and building, and about important mathematical concepts - the meaning of the terms horizontal, vertical, and right angle.

The Activity - checking verticals, horizontals, and right angles
Children will use replicas of these tools (see pictures). Three groups at a time will try surveying, taking it in turns (about 5 minutes long) to use the three different tools.
The groups will explore the classroom, looking for surfaces which are meant to be vertical, horizontal, or have right angles, such as walls, doors, tables, and windows. Using these tools they will check to see if the surfaces are well made. As an extension, more able children can try using the tools to draw horizontal and vertical lines or right angles. They can check them using a modern spirit level.

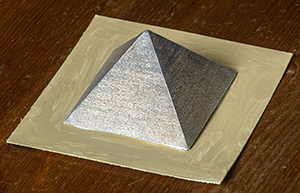
Another very important issue in pyramid building is what sort of blocks were used, and how did they fit together? In fact, at different times in Egyptian history different methods were used (see diagram right). In the Step pyramid, the very first pyramid of all, the blocks were fairly small and stacked on top in sections that leant against the body of the pyramid (number 1). The Giza pyramids were built in horizontal layers (2) with larger limestone blocks. Special casing stones were made for the faces of the pyramid, so they were smooth - not step-like as they are today. You can see one of these casing stones, with one face cut to a slope, in the photo below.

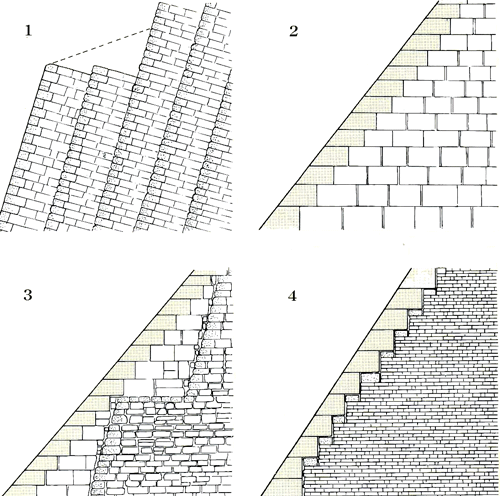
Later pyramids (3 and 4) used much smaller and rougher blocks in the centre, or even mud bricks. These pyramids tend to be in very bad shape, having collapsed or almost completely worn away. However they would have been much quicker to build.
As well as the cuboidal blocks and the casing stones, there had to be
'corner' stones with slopes on two sides, and also a mini pyramid shaped
capstone, for the top. This is know as a 'pyramidion'. In fact in the
Great Pyramid, further inside the blocks were not nice and even
cube-types but much rougher, filled in with rubble. as well as the
pyramid was built over an existing mound of rock, shaped in square
'shelves' to accommodate the blocks, which saved a lot of time in
building the lower layers.
The Activity - building pyramids with four kinds
of block
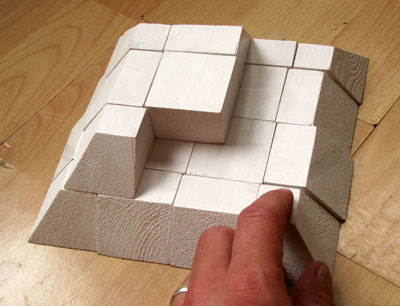
Children will build their own pyramids, stacking four types of wooden
block in a similar way to how the Egyptians built the Great Pyramid. The
four types are shown here:

They are edge, corner, cube (not really a cube, but close), and
capstone. With the help of photos children try to first make a simple
two or three layer pyramid, to get the idea of how the casing stones fit
with the squares. Depending on how much time they have left they can try
more ambitious pyramids, with four, five or even six levels.
In the course of this, children not only learn about stable pyramid
construction, they can also try to detect number series. There are
certain mathematical rules about how many of each type of block are
needed for each level. More able children pehaps can write the numbers
down, work out the rules, and predict how many of each block would be
needed for a larger pyramid (e.g. 10 levels).
The rules are as follows: for layer n of a pyramid (counting from the
top, and starting with layer 3, as layer 1 is just the capstone and
layer 2 is just 4 corners), you need:
4 corners (a constant - you always need 4 corners!)
4X (n-2) edges (a simple multiple of 4)
(n-2) squared cubes (square numbers).
For example, for layer 7 you need:
4 corners
4X (7-2) =20 edges (5 on each side)
(7-2) squared = 25 cubes.
More able children may be able to see that as the pyramid gets bigger,
the number of cubes you need grows much faster than the number of edges.
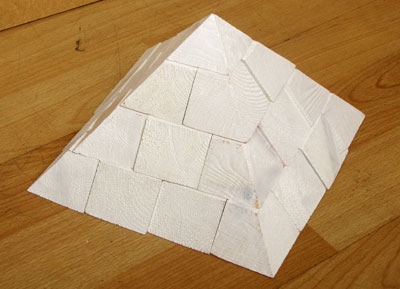
building a four layer pyramid
Building a Six-Layer Pyramid
The pictures below show the sequence for building a six
layer pyramid.
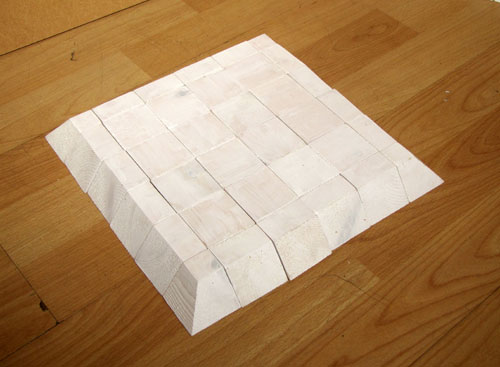
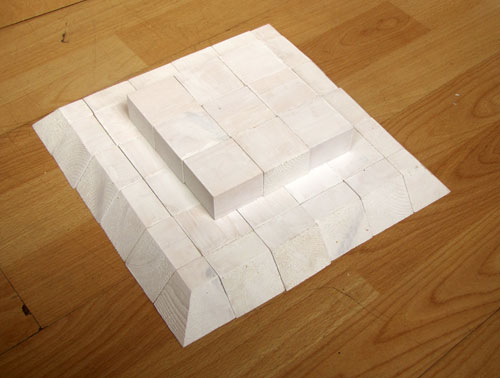
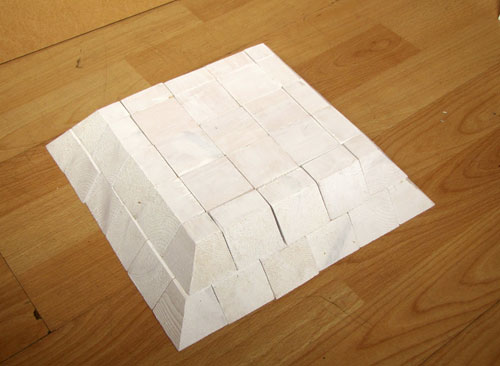
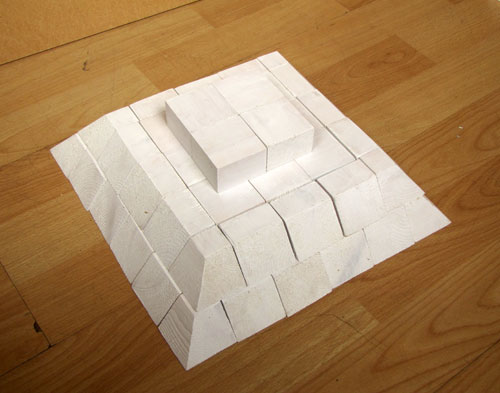


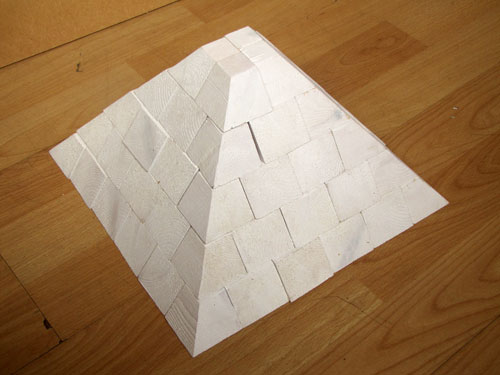

The children can take these home (or you can display them of course).
